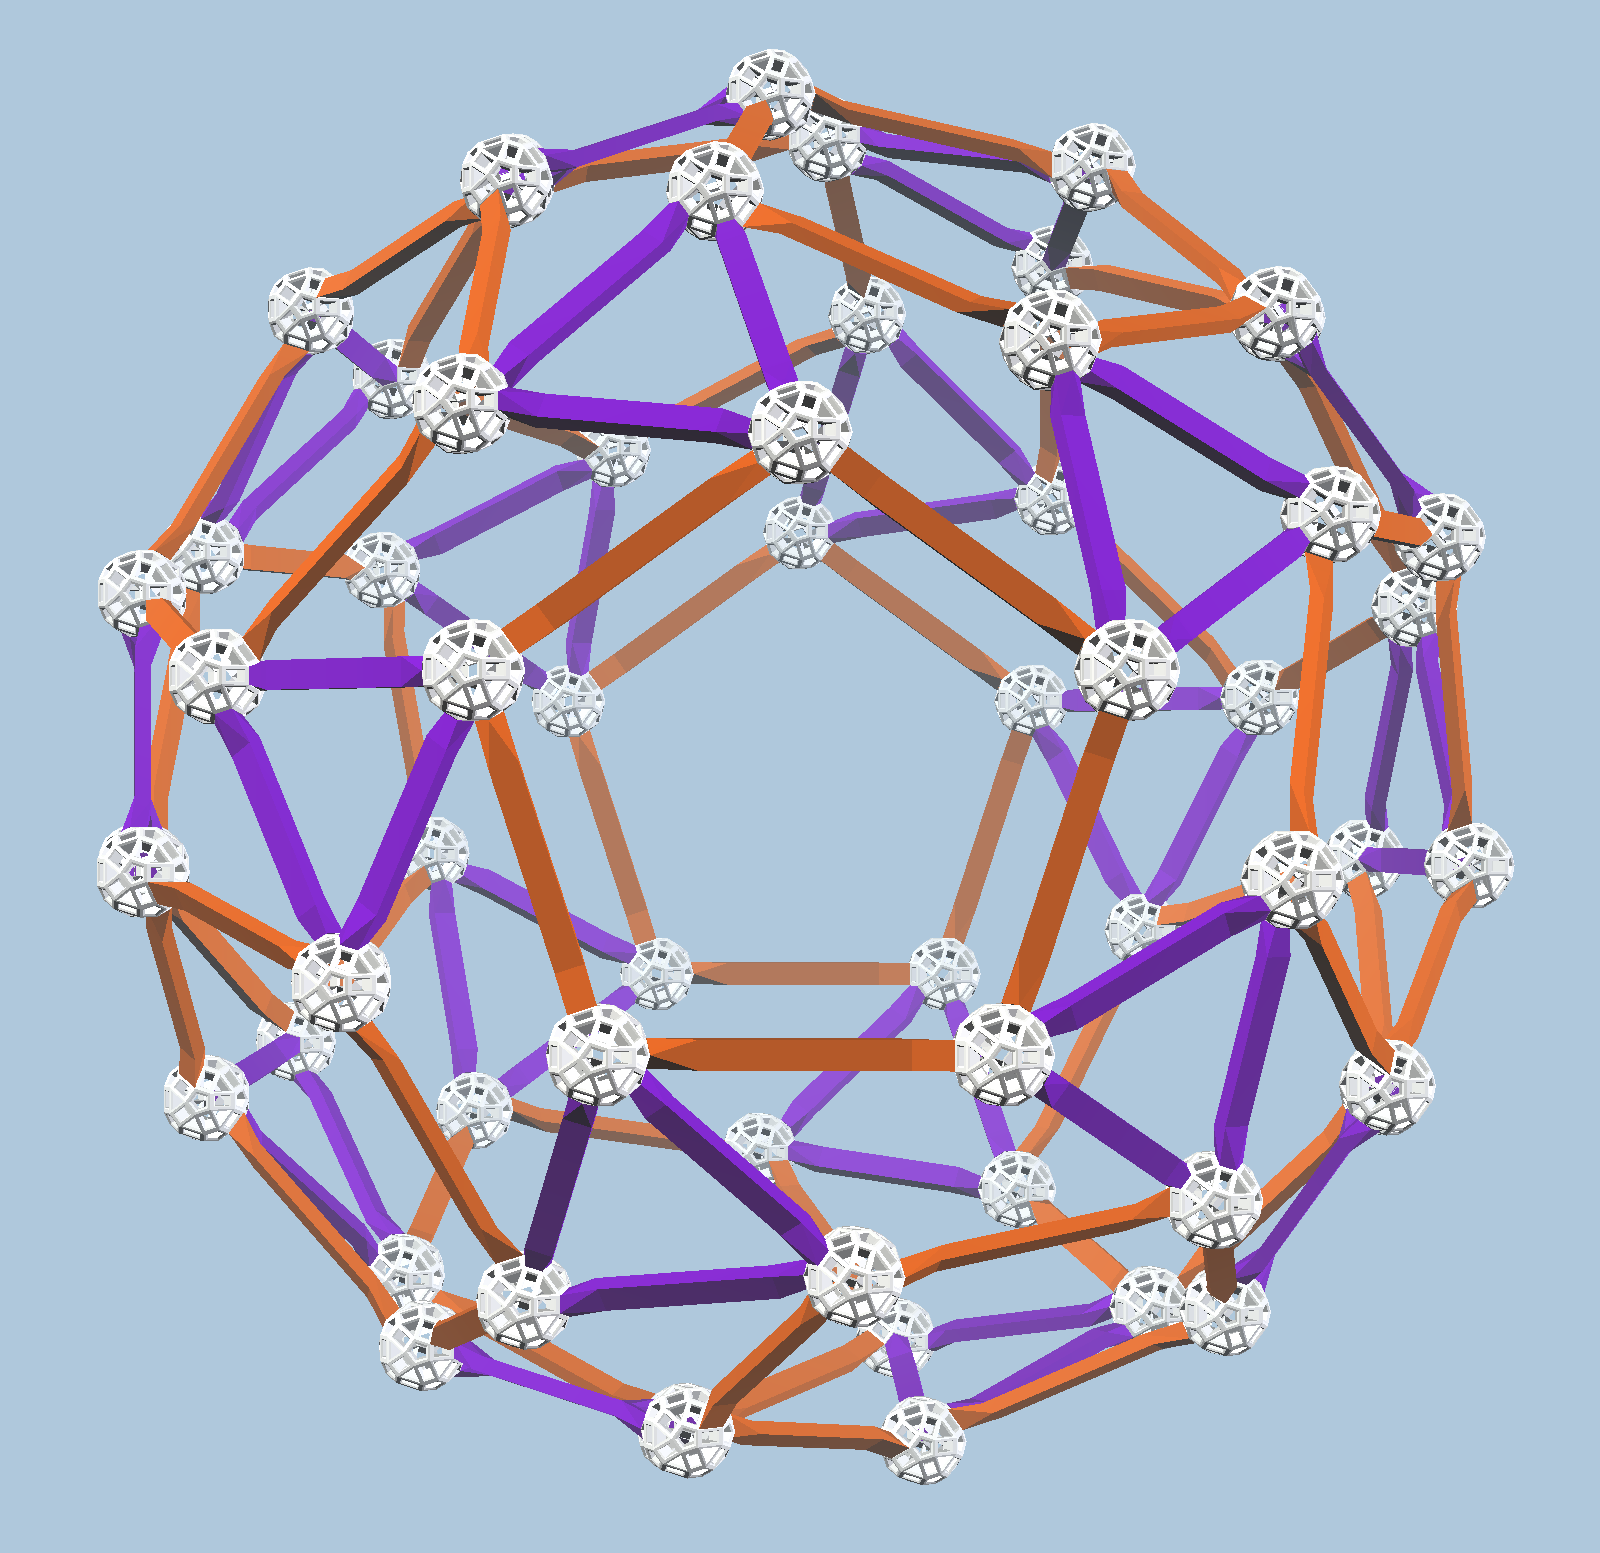
Orange and purple struts are natural extensions to the Zometool system. Modern 3D printers are cheap and reliable enough to make it feasible to print lots of your own orange and purple struts. Once you have some, you’ll find you can build many intriguing designs, like this one.
The prism-tunnel polyhedron is defined by selecting alternating vertices of the great rhombicosidodecahedron, and connecting nearest neighbors. The result has the topology of a snub dodecahedron, but fails to have the uniform edge lengths of that Archimedean solid. The name “prism-tunnel” comes from the fact that opposite pentagons are perfectly aligned, as are opposite triangles.
In this exercise, we are leaving out thirty green HG1 Zometool struts, as they tend to fit too tightly into the Zome ball.
This design is very modular, as you’ll see, and well suited to building with a group of people. This document assumes that there are four teams collaborating to build the final design, each team contributing one fourth.
The first step is to build “lollipops” using orange struts. The orange struts fit only into the triangular holes in the Zome ball. There is no way to do this incorrectly, though you can see that an orange strut can go into each triangular hole at three different angles. Each of the four teams needs to build 15 lollipops.
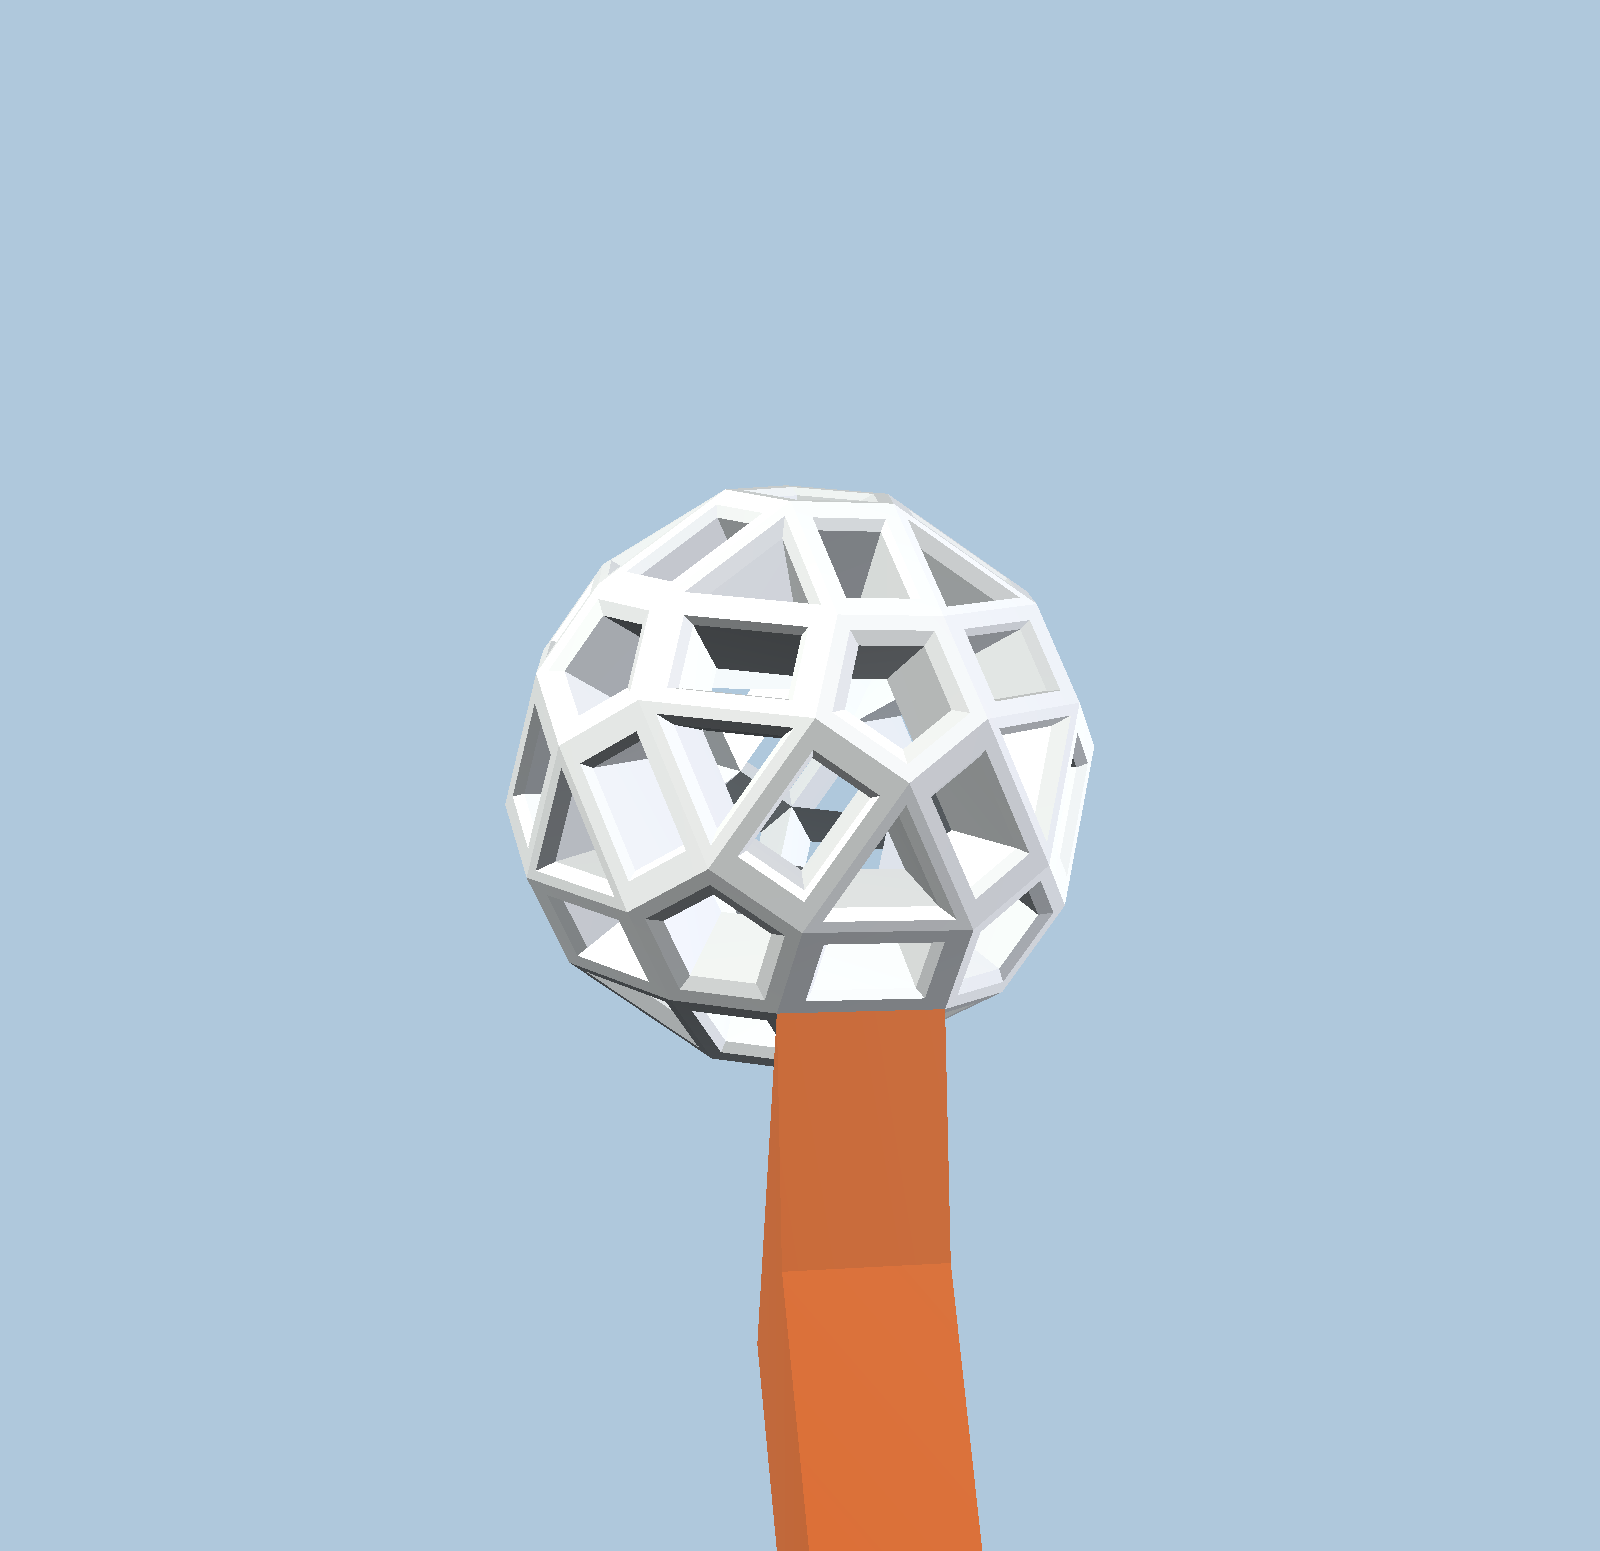
Notice that each orange strut has a rectangular cross-section, and the wider faces of the strut body lie in a “red plane” – a plane at right angles to a red strut. You’ll see this easily if you lay the lollipop on the edge of a table with the Zome ball hanging off the edge; there will be a pentagonal hole pointing straight up from the plane of the table.
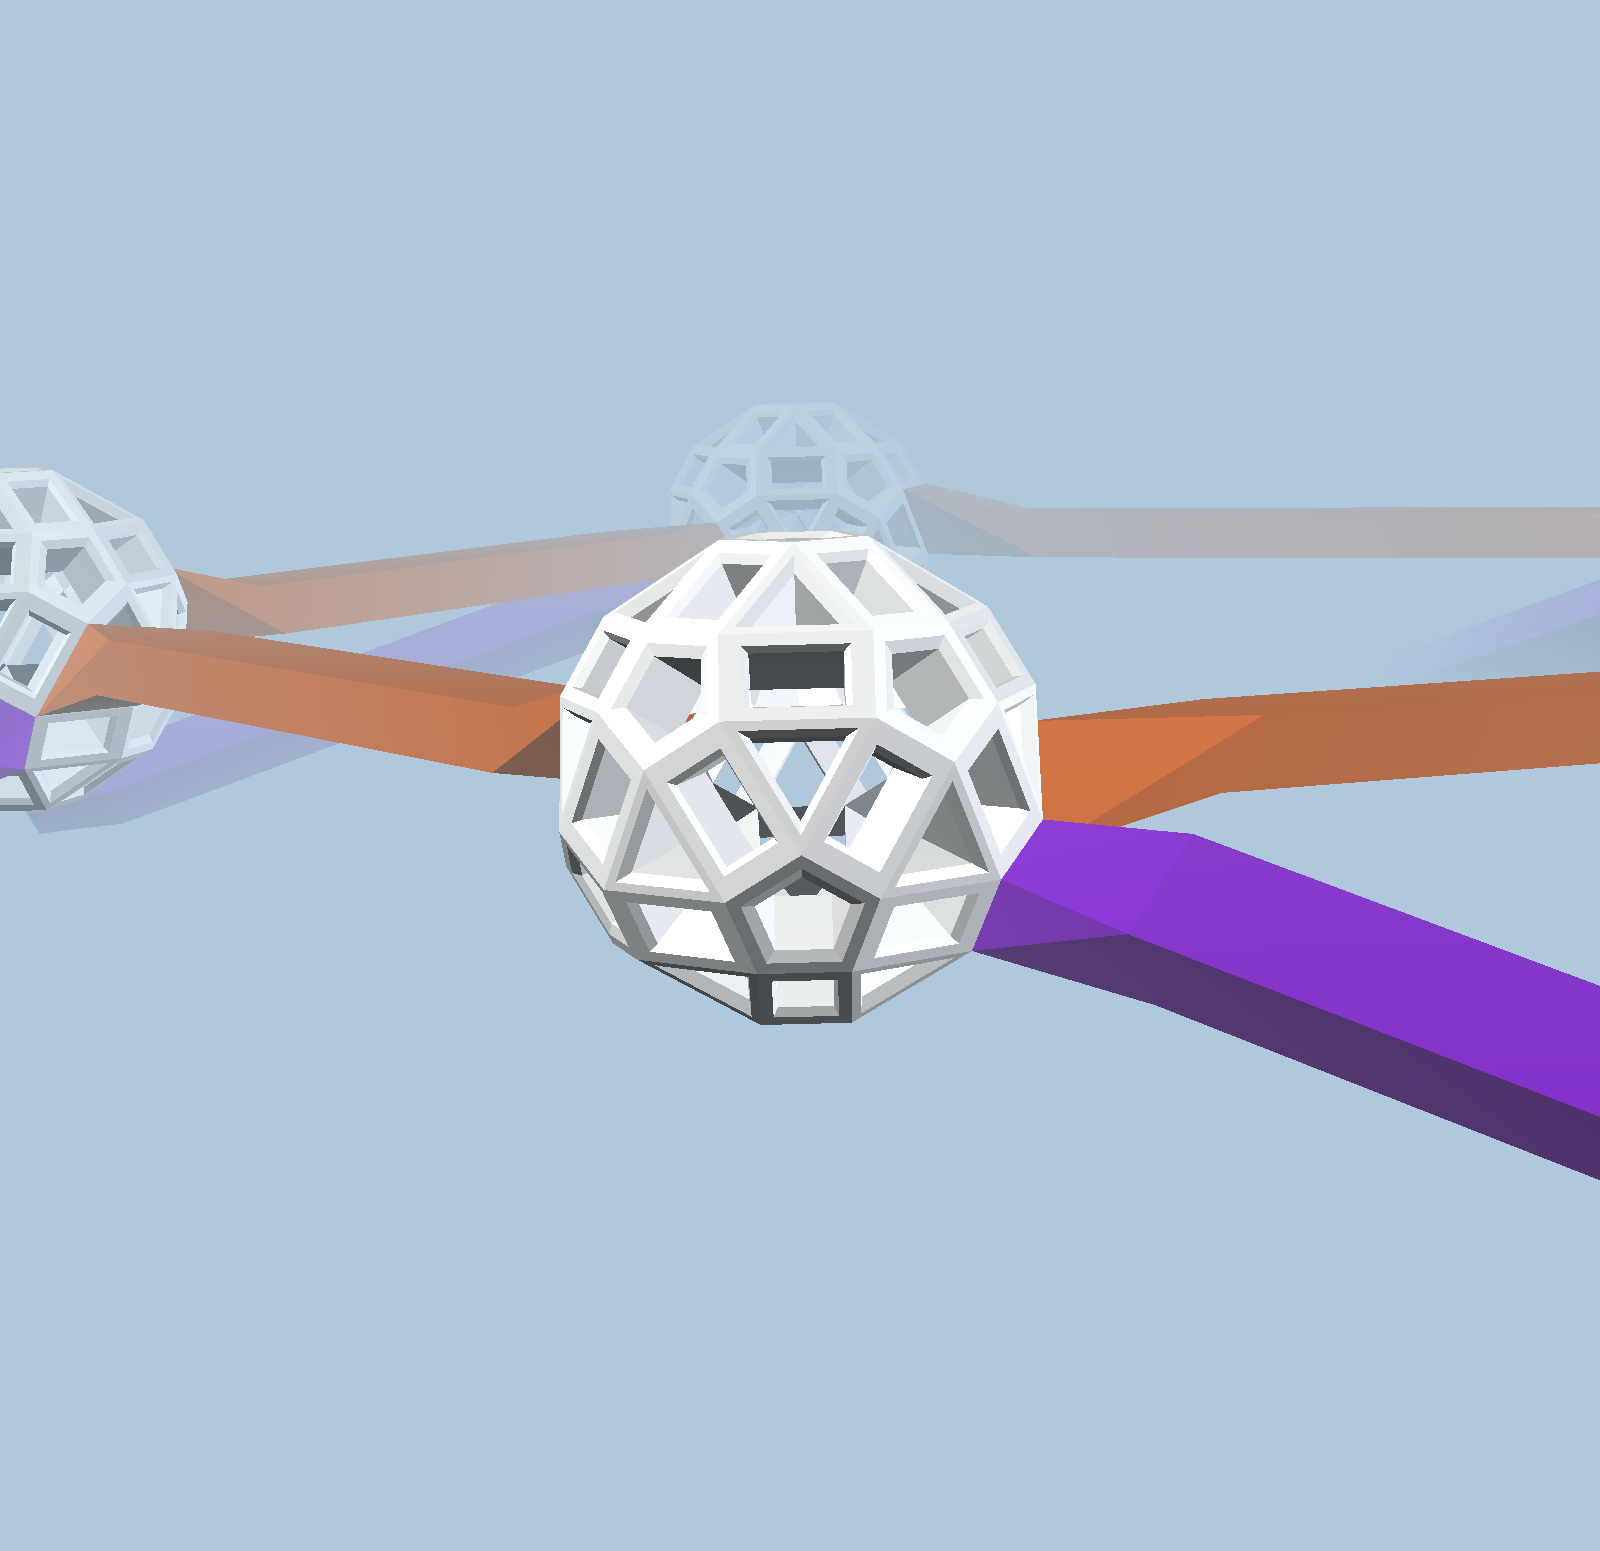
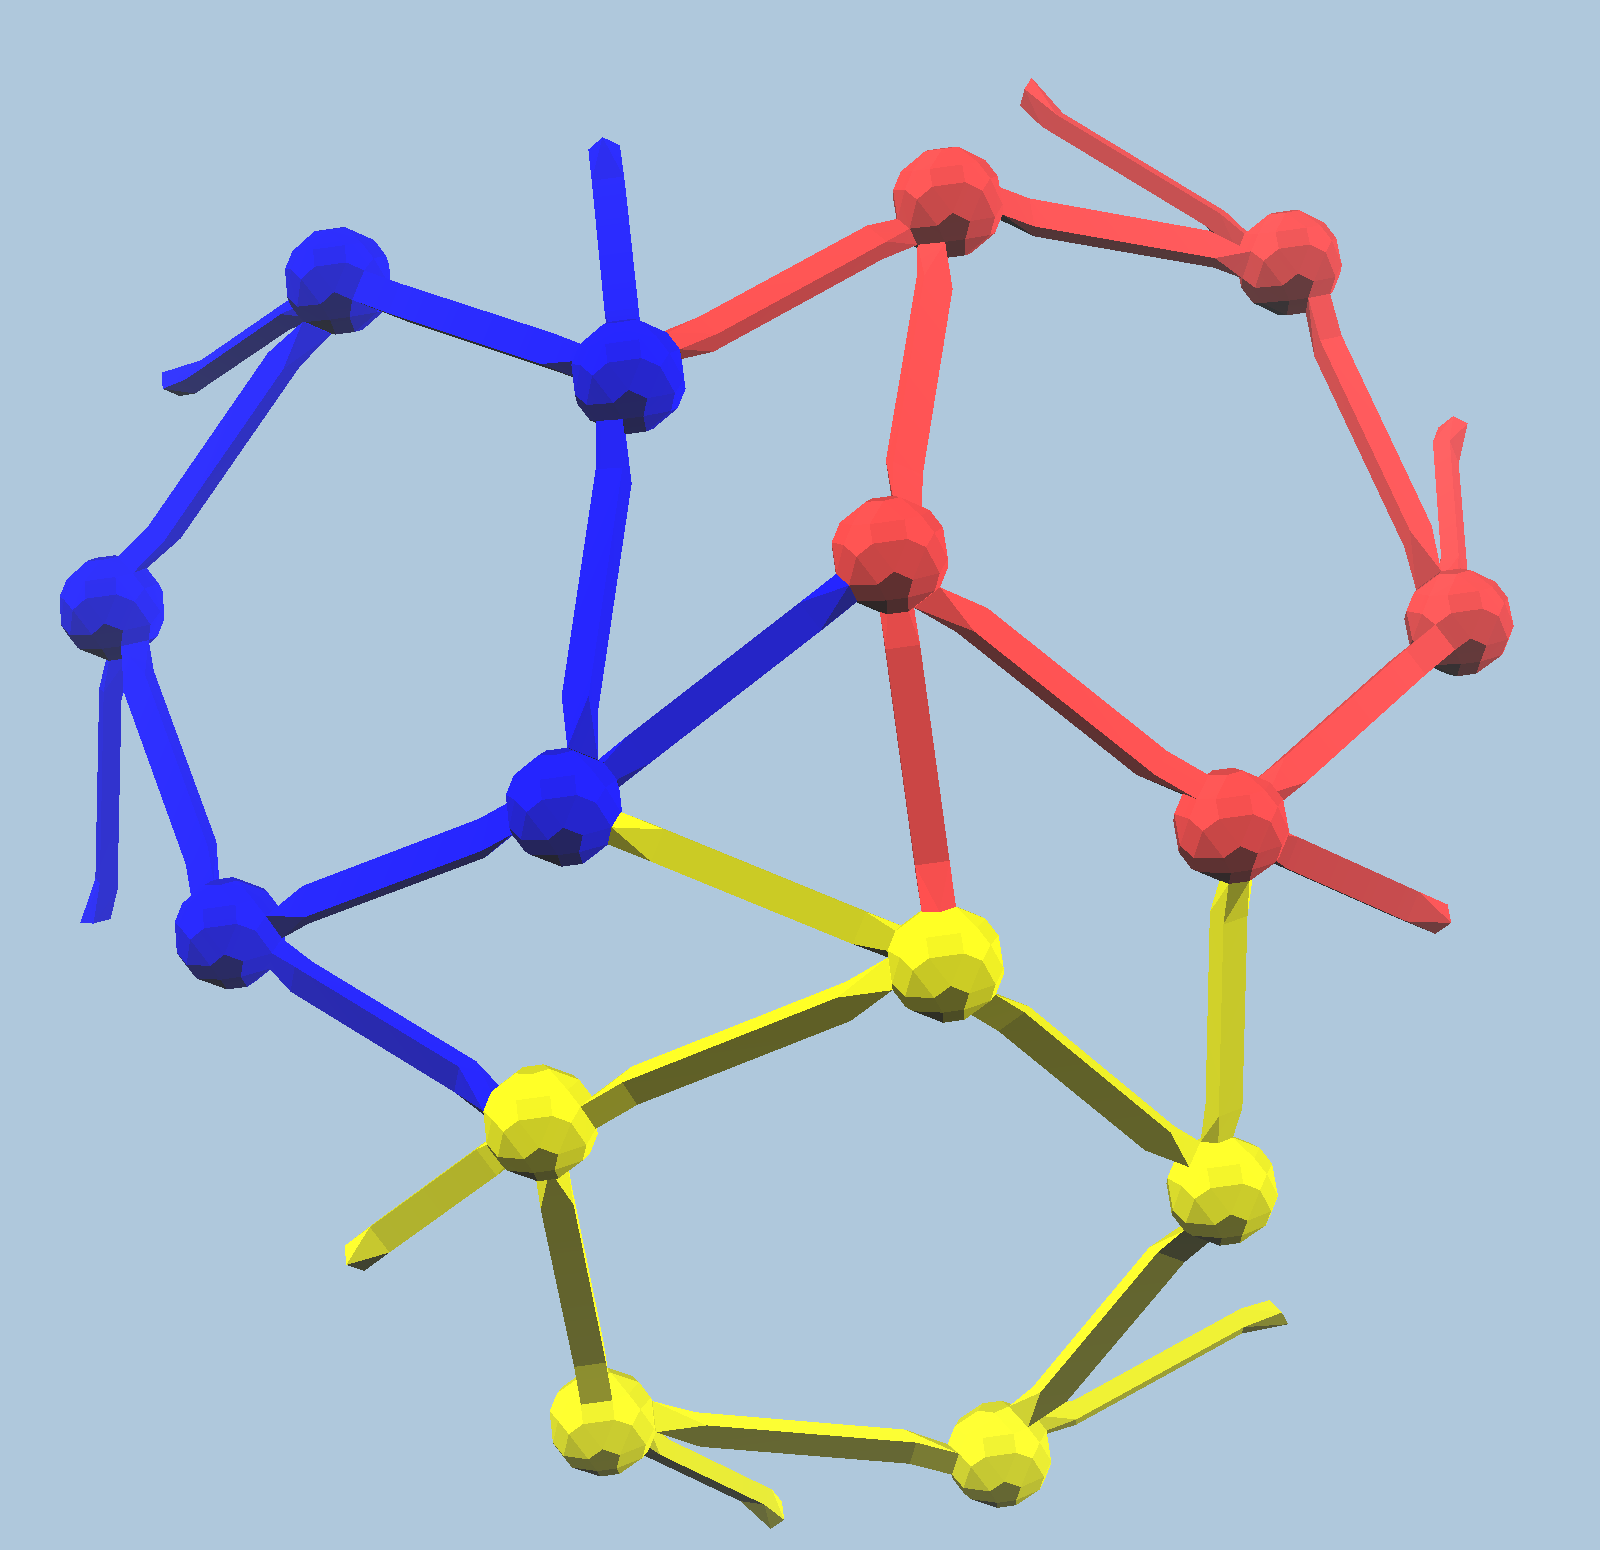
Now, you will assemble five lollipops to make a regular pentagon. Here you can see how two lollipops join together.

Be careful that you don’t connect your lollipops to create a mirror image of the view above! It is possible to construct a mirror version of the entire prism-tunnel polyhedron, but of course it won’t work if some groups contribute “right-handed” modules and some contribute “left-handed” modules.
You may find that your pentagon wants to form a helix, even though your orange struts all have the flat side up and are correctly connected together. The 3D printing process has some inaccuracies, so the tips of the struts may introduce a slight twist. Go ahead and gently force the helix into a planar pentagon.
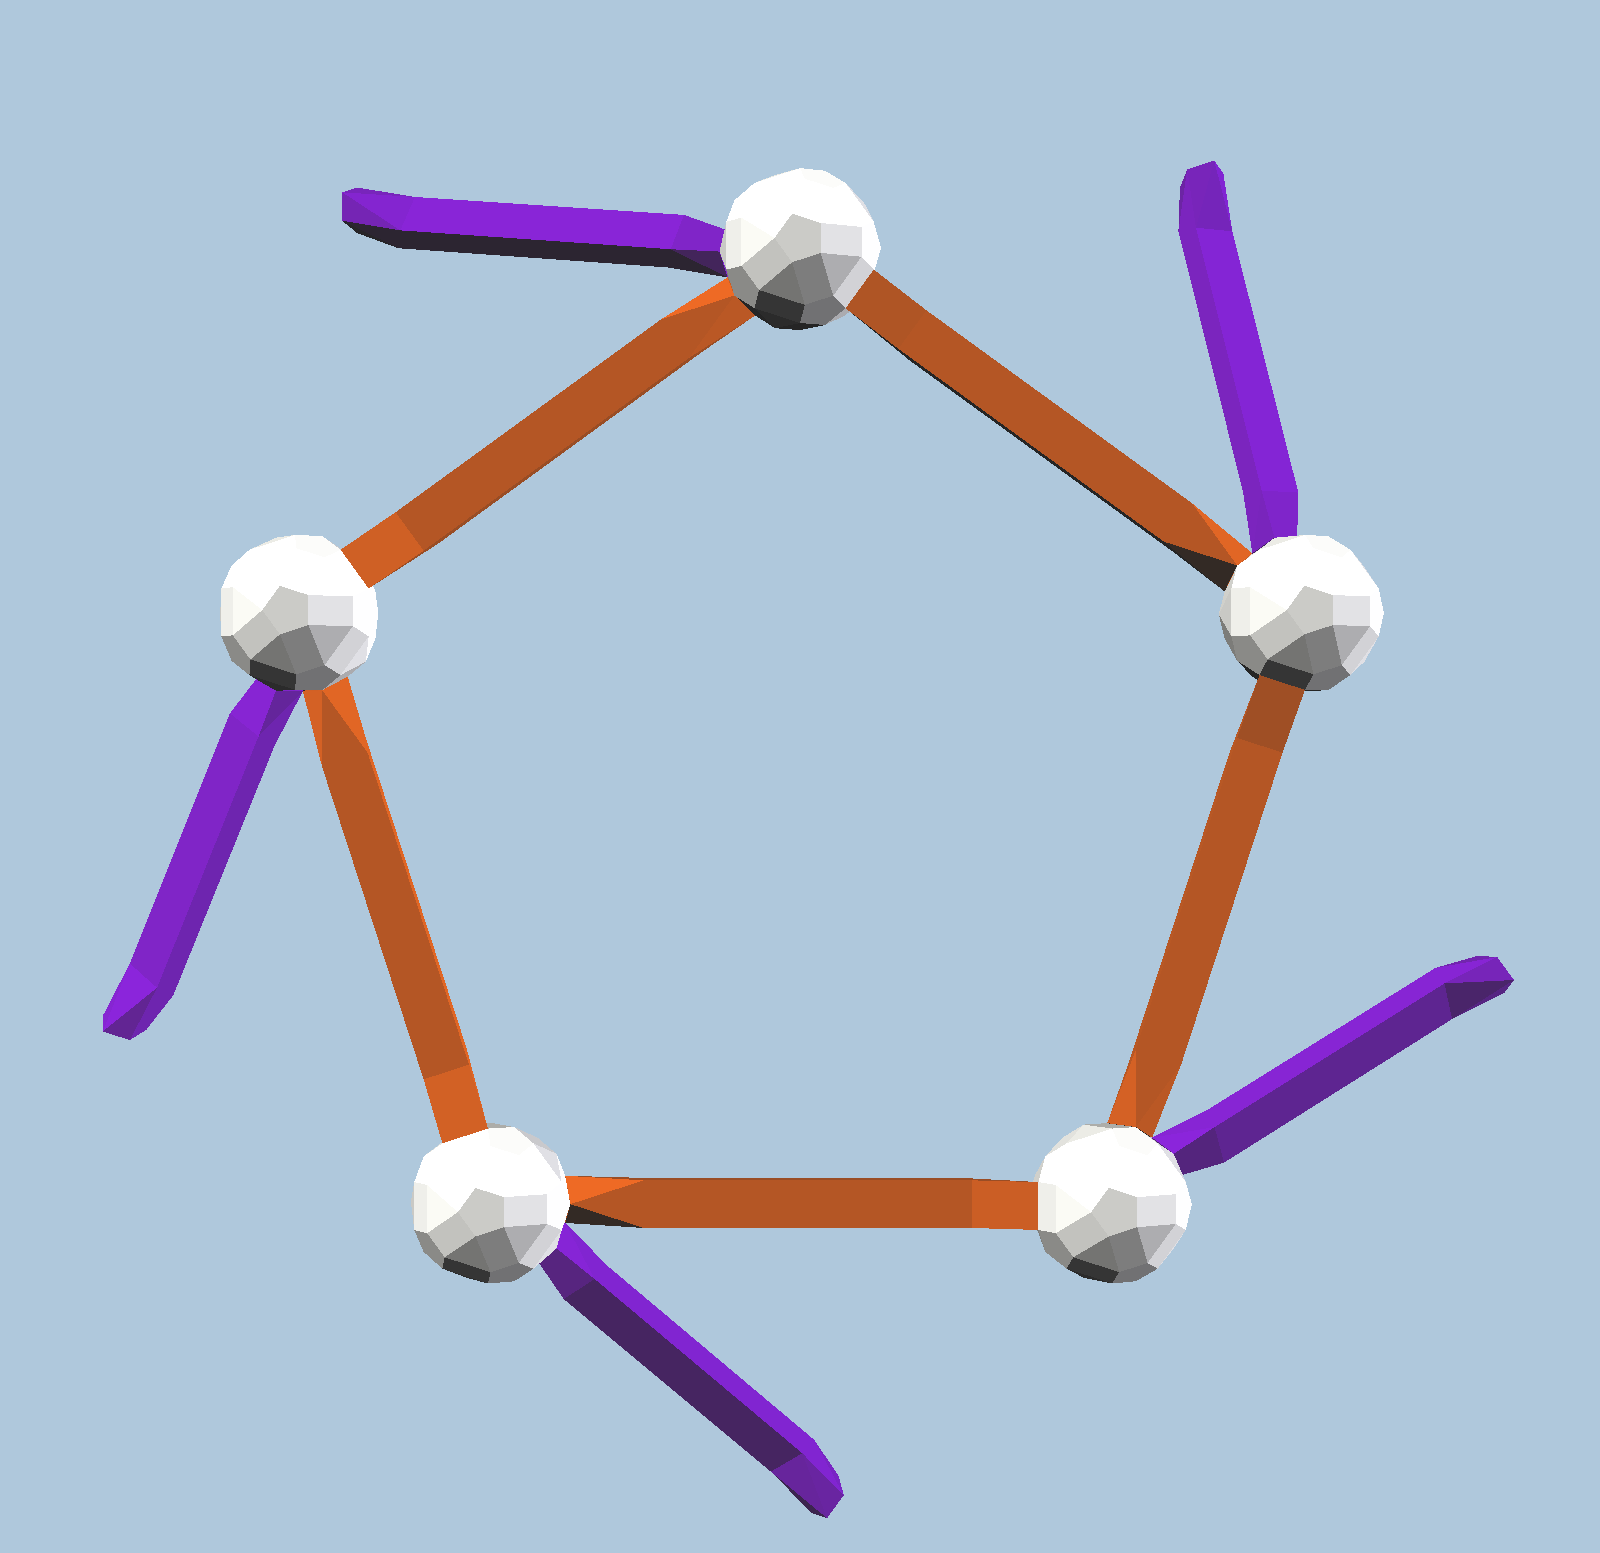
Now you will add five purple struts to your orange pentagon. This view shows the proper way to insert each purple strut.
Here’s the completed pentagon module. It should stand on the table on five purple legs reasonably well. If yours is not so symmetric, you may have inserted your purple struts in the right hole but in the wrong direction; there are five possibilities! (This is where you can really benefit from the interactive 3D view online.)
Once you have three completed pentagon modules, you can connect them with threefold symmetry, as shown below.
This view shows how two triplets of pentagons can be combined to form one half of the entire polyhedron.

The final assembly of the two halves is left as an exercise. Congratulations on assembling your prism-tunnel polyhedron!